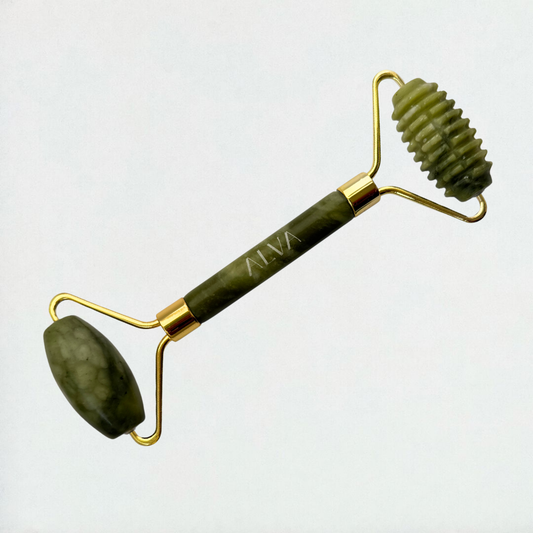
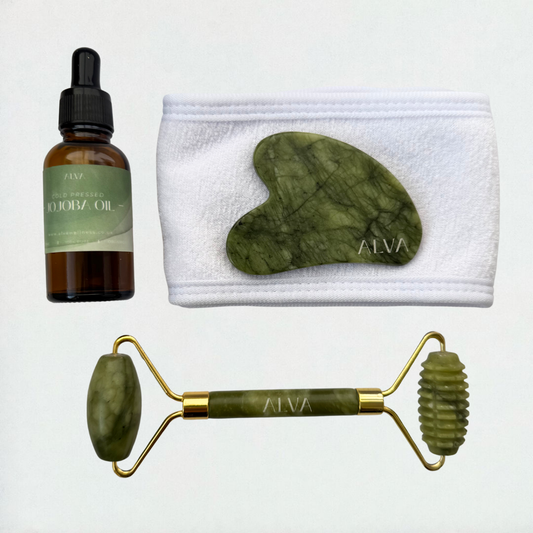
A gua sha is a simple yet effective skincare tool that works to depuff, lift, and refresh your skin. It supports healthy circulation and helps your skincare absorb more effectively.
WHAT YOU'LL NEED
- Gua Sha Tool – preferably smooth, high-quality stone or stainless steel
- Facial Oil or Moisturiser – to help the tool glide (we recommend jojoba oil)
- Freshly Cleansed Face - for best results, start with clean, makeup-free skin

STEP-BY-STEP
- Start with a clean base - Cleanse your face and neck, then apply a facial oil or serum to help the gua sha glide smoothly.
- Hold correctly - Hold your gua sha tool flat against your skin at a slight angle - not upright - for gentle, even pressure.
- Begin at the neck - Work from the base of your neck upward toward your jawline using slow, sweeping strokes. Repeat 3–5 times per section.
- Sculpt the jawline - Starting at the chin, glide the gua sha along your jaw toward your ear. Keep the movement light and consistent.
- Lift the cheeks - Place the tool at the side of your nose and sweep upward toward your temple. This helps lift and define the cheek area.
- Refresh the eye area - Using the smoothest edge, gently move from the inner corner of the eye toward the temple to help reduce puffiness.
- Finish at the forehead - From the centre of your forehead, glide upward and out toward your hairline.
- Clean your tool - Wash your gua sha with mild soap and warm water after each use, then dry thoroughly.
HOW OFTEN TO USE
2–4 times per week is ideal. Some use it daily for a moment of relaxation and consistent results.
FINAL TIPS
- Use gentle, upward strokes - avoid dragging the skin
- Repeat each movement 3-5 times per areaa
- Clean your gua sha after each use with mild soap and water
- For extra cooling, stool your gua sha in the fridge before use


